A first Korea trip becomes difficult when flights are booked before the route, season and entry path agree. Decide documents, dates, cities and hotel base first. Then add connectivity, transport, payment and only the reservations that can sell out. Leave recovery space.
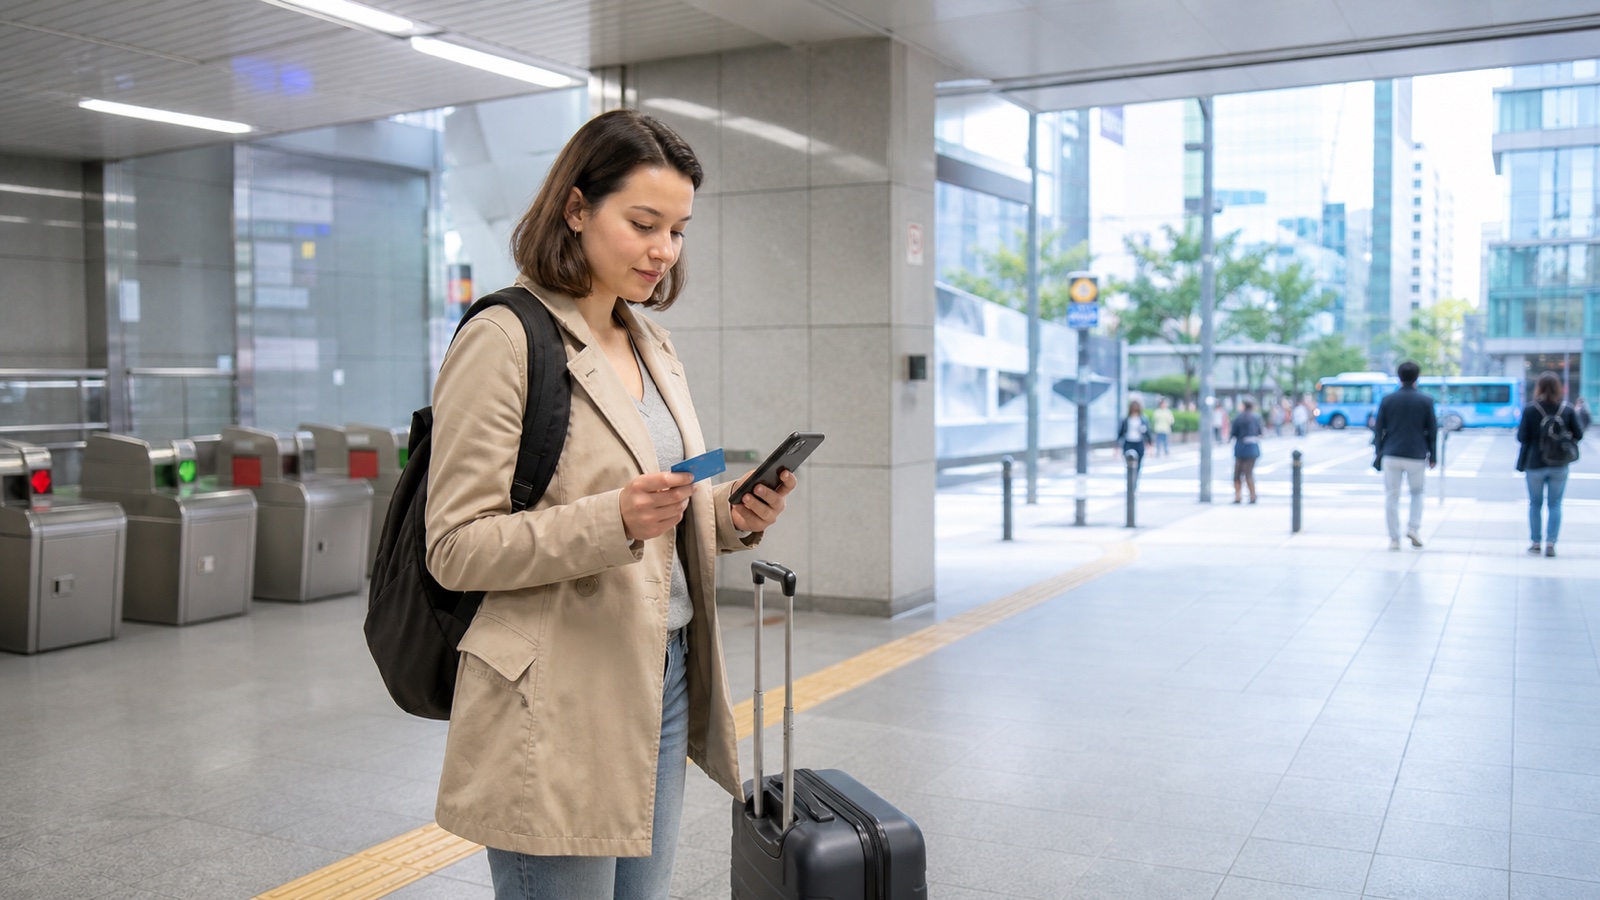
Best starting decision: For seven days, choose Seoul plus one regional destination; for five days or fewer, make Seoul the base and add at most one easy day trip.
- Confirm entry eligibility before restricted purchases.
- Match the city count to usable nights, not calendar dates.
- Choose the hotel area from the itinerary and airport route.
Make the decision in 60 seconds
| Your situation | Best move | Check before paying |
|---|---|---|
| Five nights or fewer | Base in Seoul | One optional day trip only |
| Six to eight nights | Seoul plus Busan or Gyeongju | Intercity booking and hotel change |
| Nine nights or more | Add a third region carefully | Flights, luggage and recovery day |
Decisions 1–3: documents, season and usable days
First, verify passport, visa or K-ETA status and arrival declaration. Second, choose a season whose downside you accept: spring and fall crowds, summer heat and rain, or winter cold. Third, count usable days after long-haul arrival, airport transfer and departure. A ten-calendar-day booking may offer only eight full sightseeing days.
Do not promise the first afternoon to a timed attraction. Jet lag, immigration, baggage and airport transport are variable. Use the arrival day for check-in, a local meal, connectivity and one walk near the hotel.
Decisions 4–6: cities, hotel base and movement
Choose cities by travel time and trip goal. Seoul plus Busan works for city and coast; Seoul plus Gyeongju works for history; Seoul plus Jeju adds a domestic flight and weather exposure. The Busan, Jeju or Gyeongju comparison helps set the second destination.
Choose the hotel after plotting the first three days. A direct airport route and useful subway line are worth more than a vague “central” label. Install Korean map apps, save Korean place names and learn the payment boundaries of T-money and other passes before arrival.
Decisions 7–8: phone data and money
Reliable data powers maps, translation, booking changes and emergency information. Choose eSIM, SIM or pocket WiFi based on phone compatibility and group needs. Download confirmations before the flight so connectivity is helpful rather than a single point of failure.
Use at least two cards plus a cash backup. Tell the bank about travel if required and understand dynamic currency conversion before accepting a terminal prompt. Separate daily spending, shopping and emergency reserves.
Decisions 9–10: reservations and recovery space
Reserve only what has a genuine capacity or timing risk: restricted-entry attractions, popular performance tickets, an essential train and a special restaurant. Leave ordinary neighborhoods and flexible museums open until the forecast is clearer.
Protect one half-day for weather, fatigue or a missed plan. This is not wasted time. It prevents every delayed meal from damaging a chain of bookings and creates room for the place you discover after arrival.
Protect the first and last six hours
The highest-friction parts of a first Korea trip are usually the hours after landing and before departure. Write the arrival sequence as a short script: immigration, baggage, customs, connectivity, cash or transport card, then the correct train, bus or taxi. Add the hotel name and address in Korean. This prevents every family member from making a separate decision while tired.
For departure, work backward from the airline’s terminal and check-in guidance. Include the hotel-to-station walk, transfer time, airport processing and a disruption buffer. Do not assume the airport used on arrival is the one used for departure, especially when an itinerary combines international and domestic flights. A calm first and final day makes the entire route feel easier.
Your final booking checklist
- Verify entry documents.
- Choose season by tradeoff.
- Count usable nights and full days.
- Limit the number of cities.
- Map the hotel against the itinerary.
- Set up data and offline backups.
- Prepare two cards and cash.
- Reserve only capacity-sensitive items.
- Add arrival recovery time.
- Keep one flexible half-day.
Mistakes that cost time or money
- Adding Jeju because it looks close on a country map.
- Changing hotels to save a short subway ride.
- Booking every meal before seeing the weather.
- Treating arrival and departure as full sightseeing days.
Turn this guide into a real plan
Write a one-page trip brief with dates, usable nights, entry path, two main goals, city sequence and budget band. If a booking does not support that brief, delay it.
Then choose a detailed route: five days in Seoul, three days in Busan or the seven-day Seoul–Busan plan.
Frequently asked questions
How many days are enough for a first Korea trip?
Five days can introduce Seoul; seven days can add one regional city; ten or more days allow a third region with better recovery time.
Should I visit Seoul or Busan first?
Most long-haul travelers arrive near Seoul, so Seoul is the simpler first base. Busan can be first when an international flight or ferry arrives there and the route supports it.
Do I need to book everything in advance?
No. Book genuine capacity risks and keep ordinary sightseeing flexible for weather and energy.
Official sources
- Official Korea travel portal
- Official Seoul first-time course
- Official Visit Busan itinerary
- Official Korea transport guide
Continue planning
- Choose the best places for a first Korea trip
- Plan five days in Seoul
- Compare Seoul, Busan and Jeju in ten days
Last verified August 24, 2026. Entry rules, fares, schedules, weather, insurance terms and operator policies can change. Recheck the linked official source before booking.